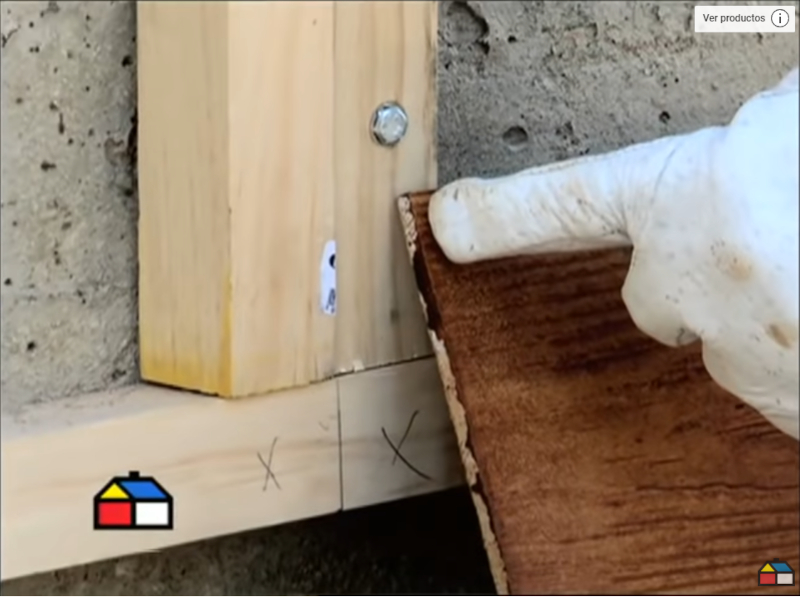
Prepare wooden frame
Image 
To assemble the plates, there must be a wooden frame on which they are fixed. The spaces between the boards are important to allow air to circulate to dry any water that may have penetrated.
ID:(295, 0)
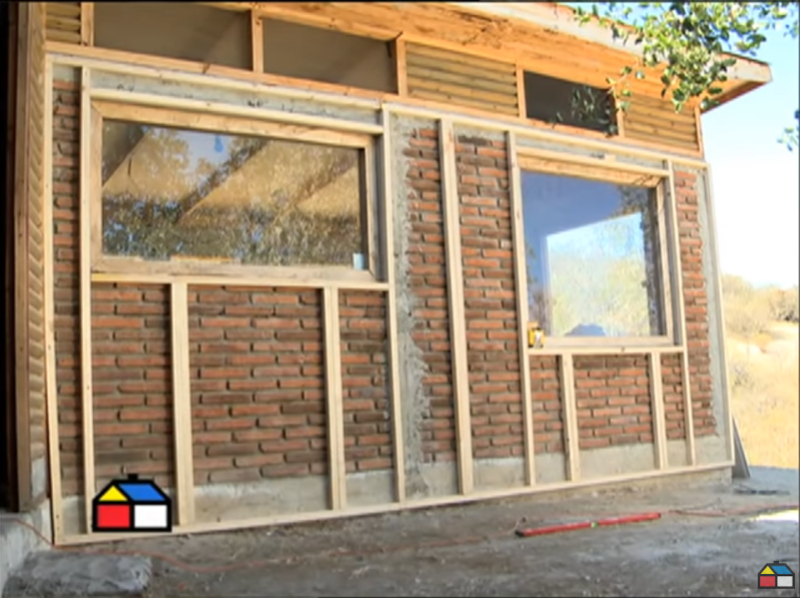
Horizontal partition position
Image
The vertical partitions must be spaced according to the length of the plates to be mounted.
ID:(297, 0)
Horizontal partition broad
Image
Its width must allow two plates to be mounted so that the perforations are not too close to the edge and the plate breaks.
ID:(298, 0)
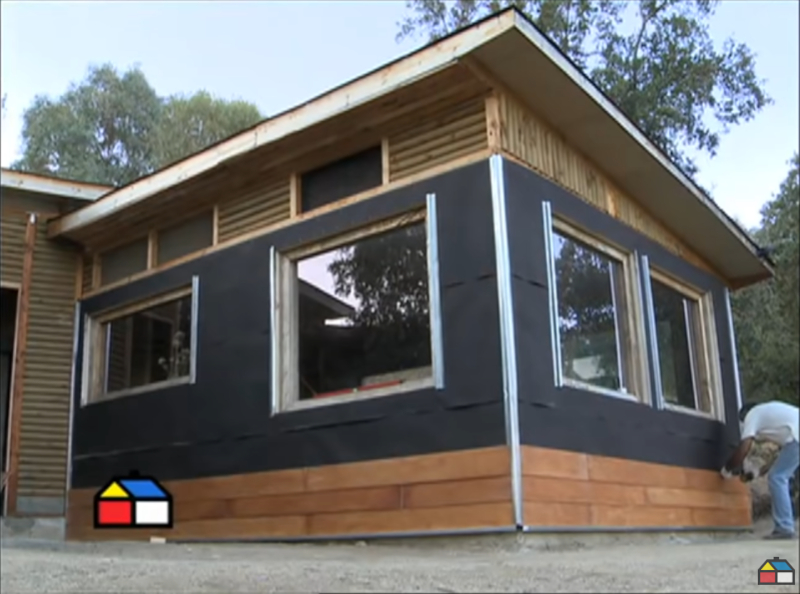
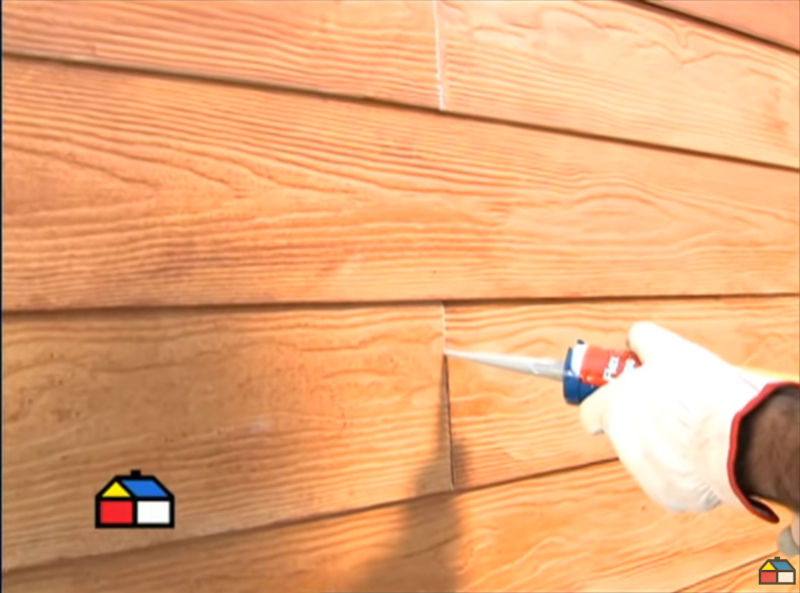
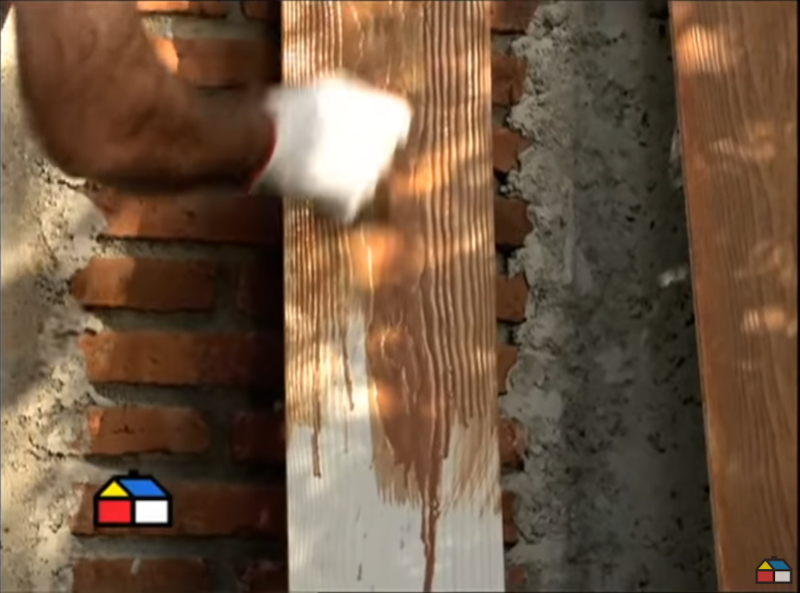
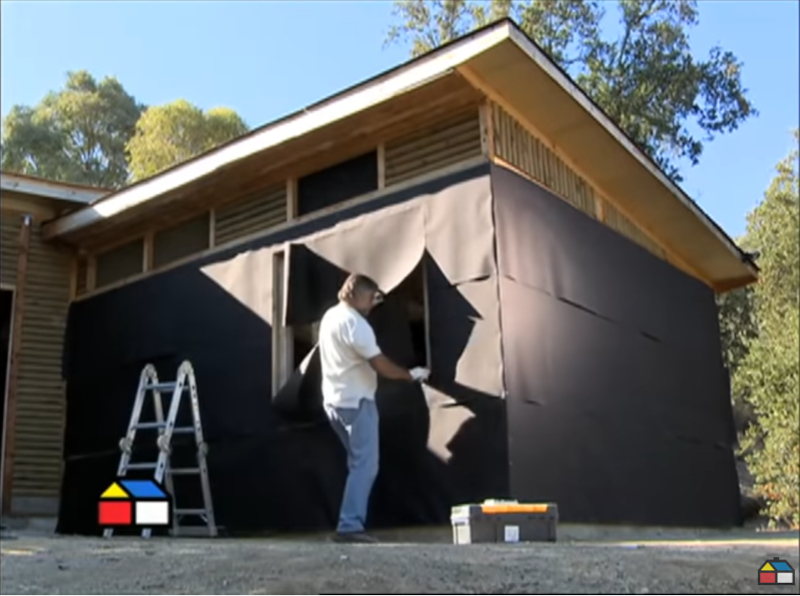
Water barrier
Image
To protect the wall (SIP) from rainwater and condensation, a water barrier is mounted on the support boards.
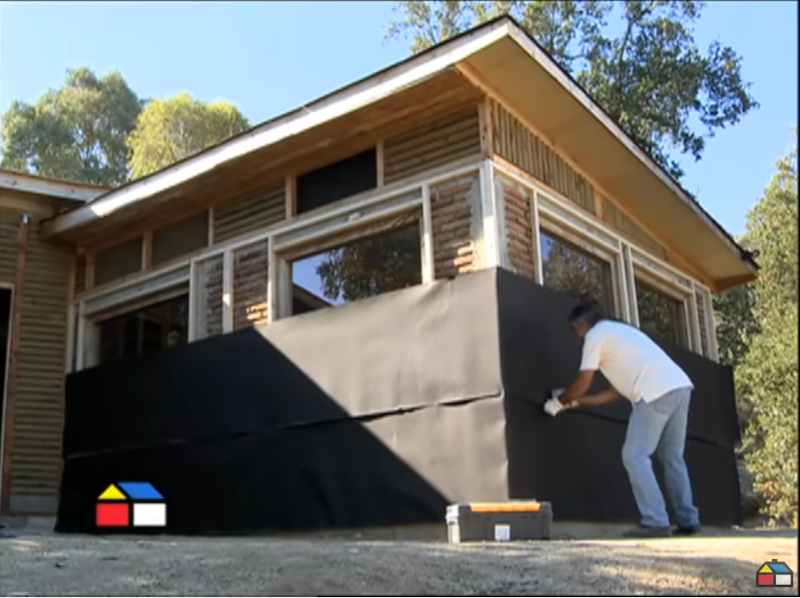
The space between the water barrier and the wall (SIP) must allow water vapor to condense and run off.
ID:(299, 0)
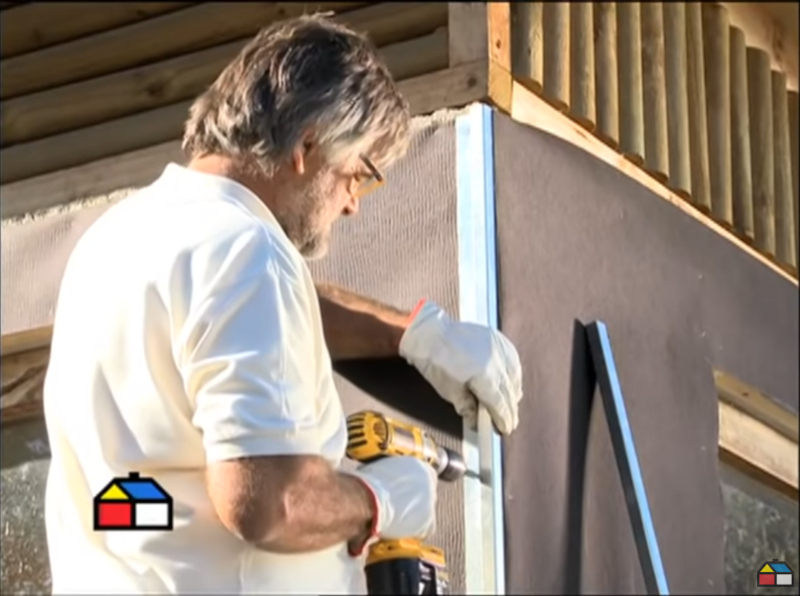
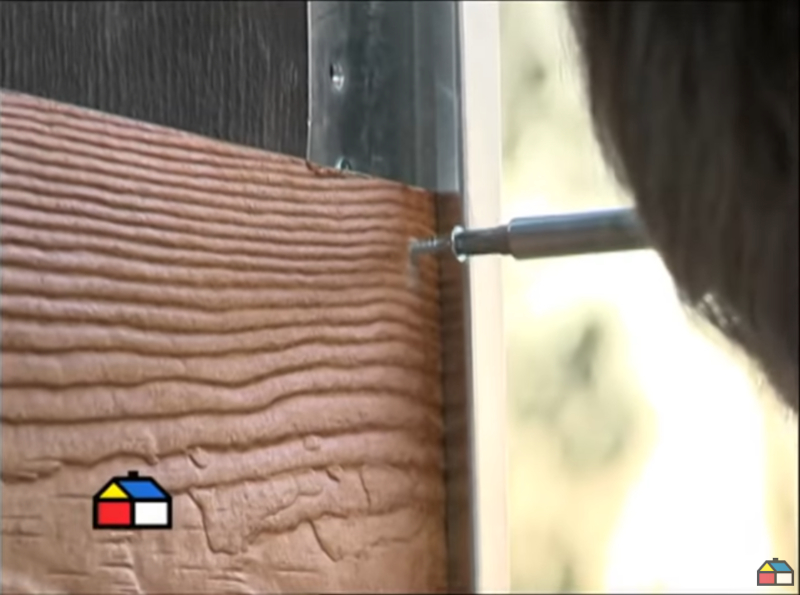
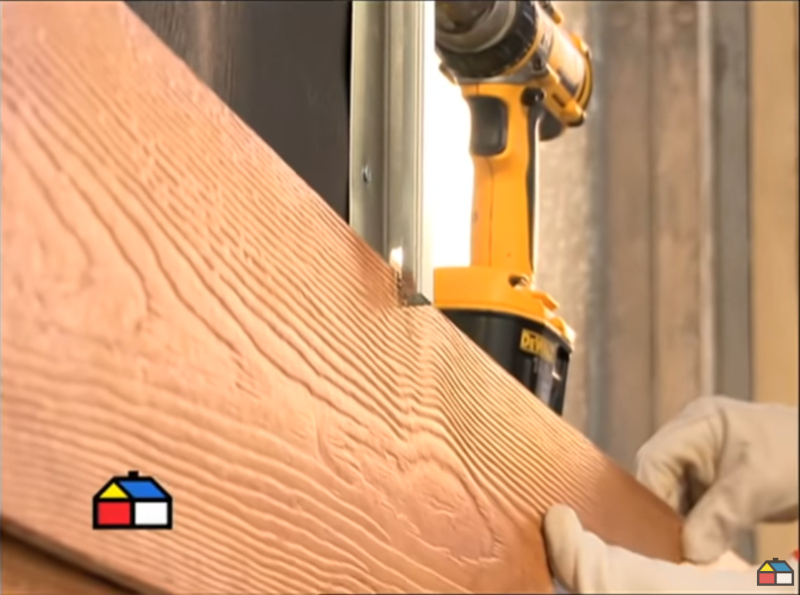
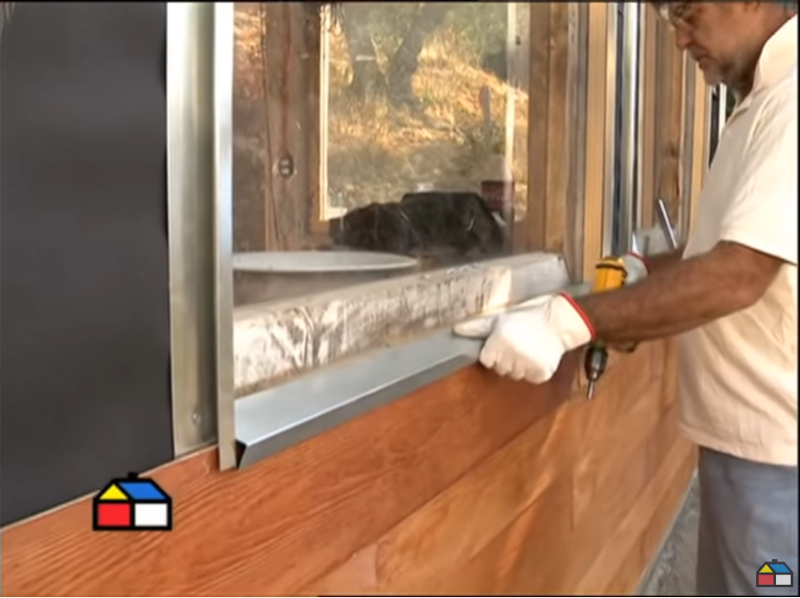
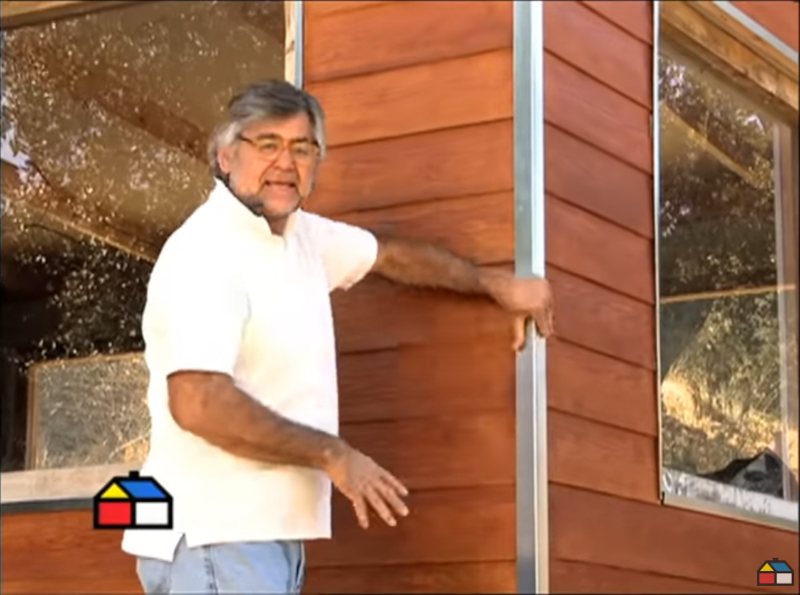
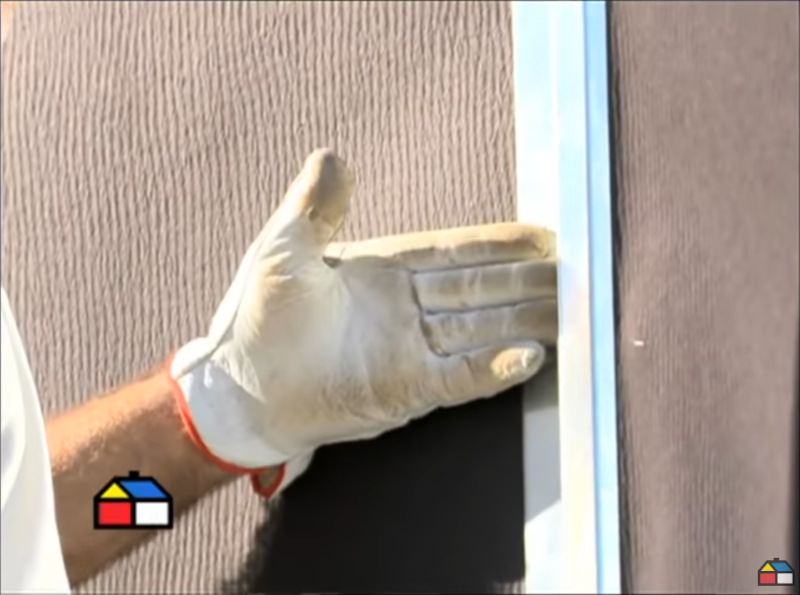
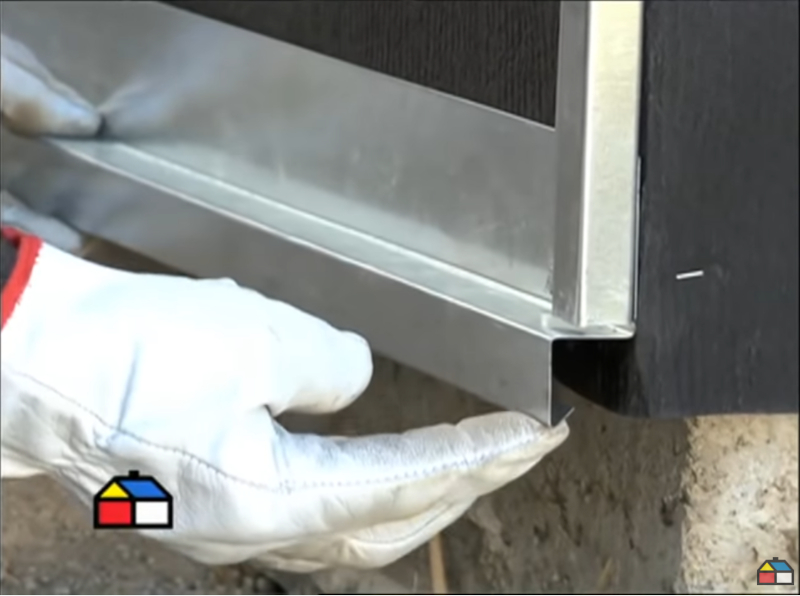
Slit in which the sidings are mounted
Image
The edge profiles have a groove that forms a channel in which the sidings are mounted.
ID:(302, 0)
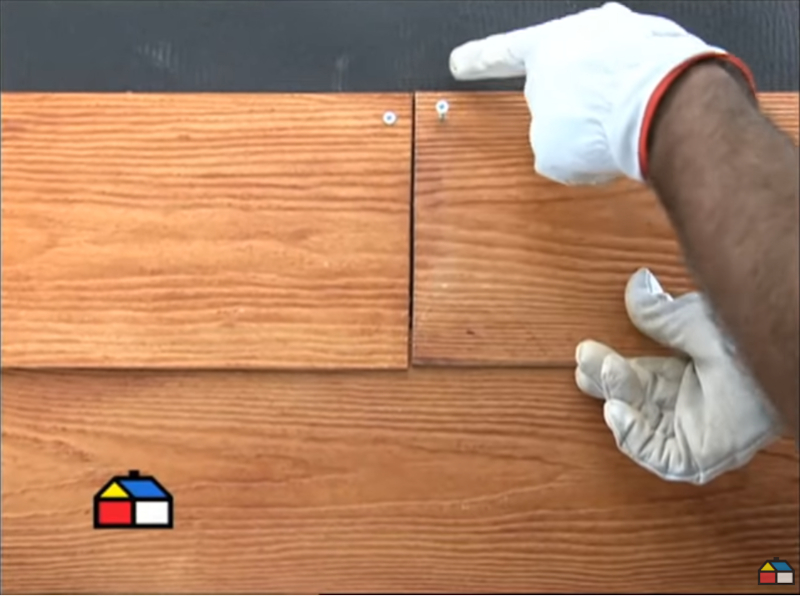
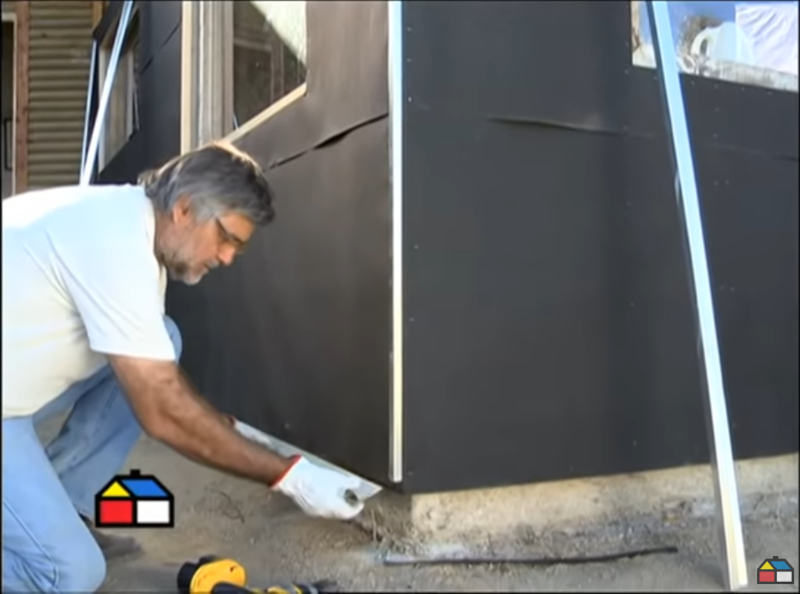
Base mount
Image
The base is assembled to hold the initial siding on which the rest are added.
ID:(303, 0)
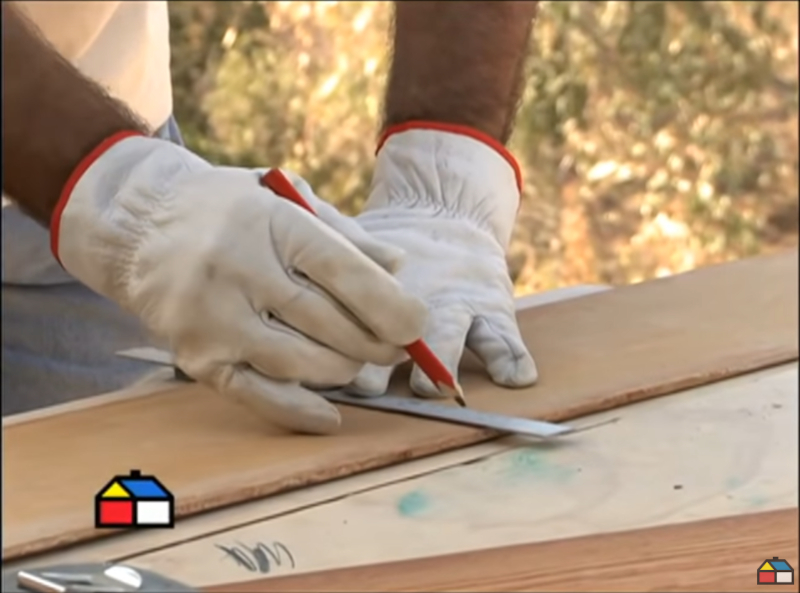
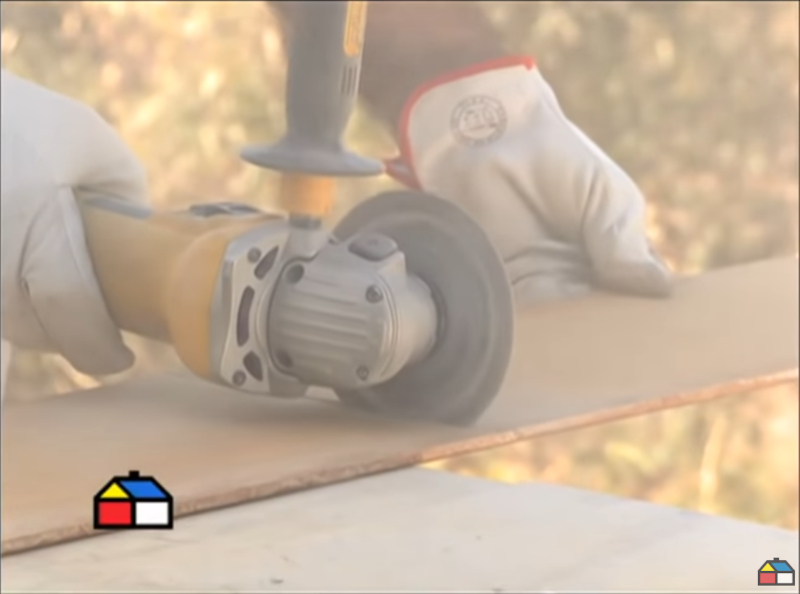
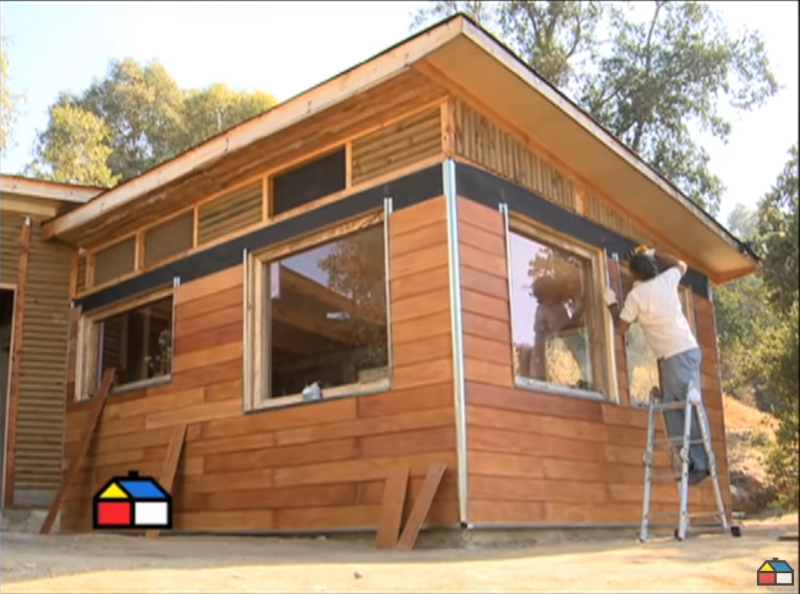
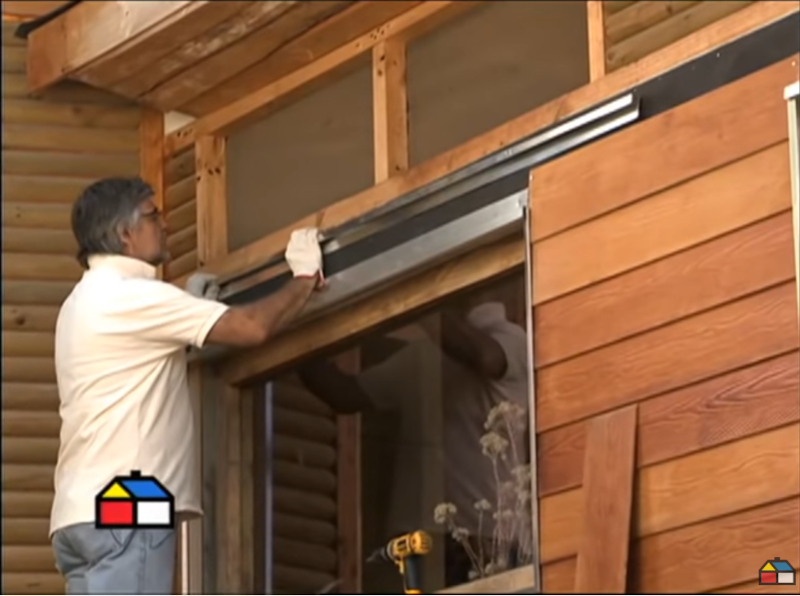
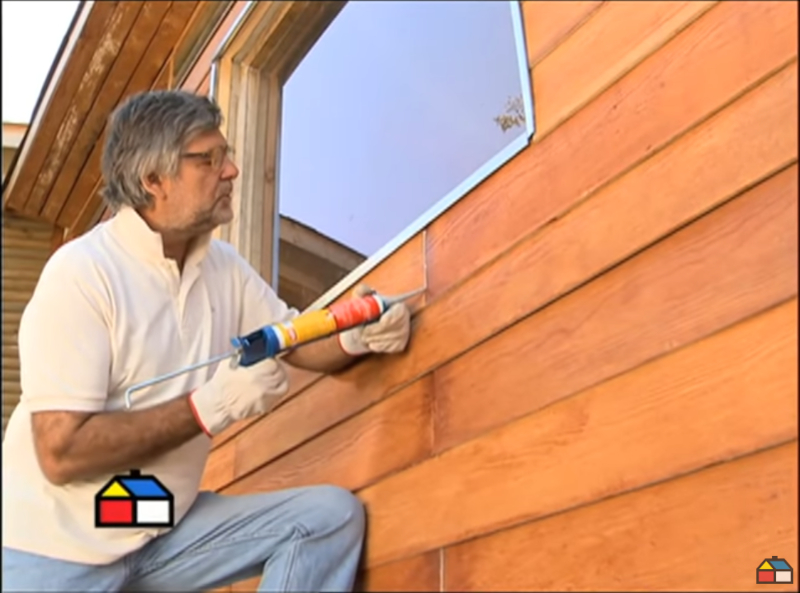
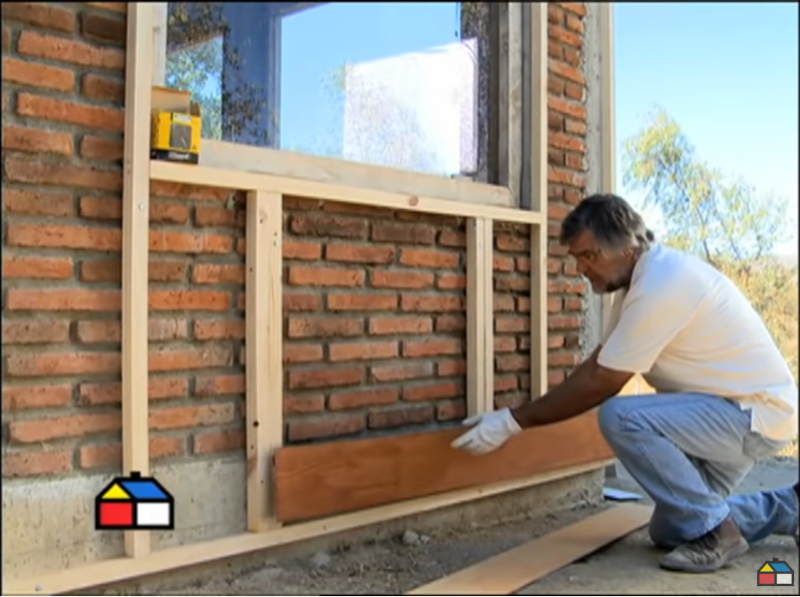
Window profiles
Image
As in the edges, profiles must be installed along the window frames for the assembly of the sidings around the windows.
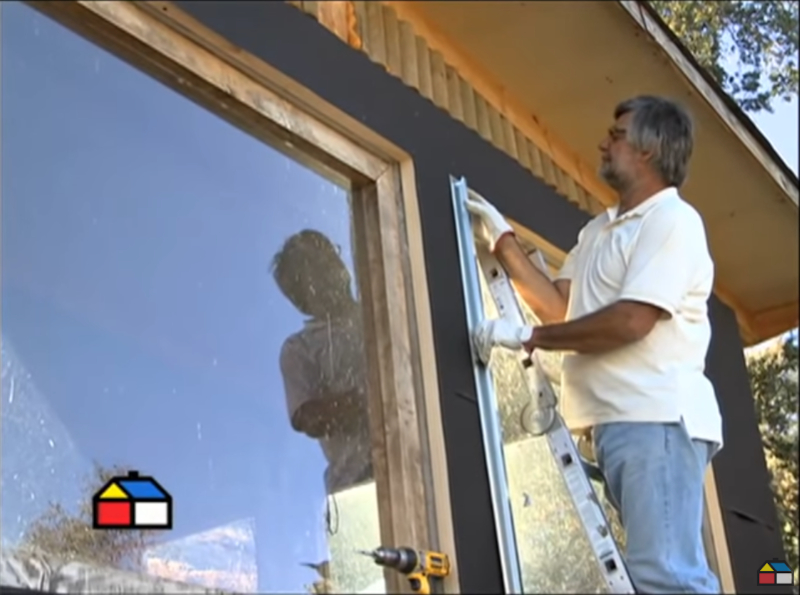
Proceed in a similar way with the doors.
ID:(305, 0)